Frequently Asked Questions
You sell real film and film emulation?
Yes! While film photography has its cons – costs, unpredictability, speed – there is a certain feeling of shooting with it that can't be replicated while shooting digitally. It's not a feeling that can be described either; you just have to do it to really feel it.
The Film Emulation presets are not meant to totally replace the process of shooting on film, but are there to give that unique film look when you're not able to use the real thing.
Hopefully using these presets does make you curious about shooting on real film though.
How are the f.i.f. presets different than other film emulation presets?
Two unique characteristics of the Film is Fun presets are the specific stock calibrations and exposure controls.
These presets are created with an objective point of view in order to create the most accurate film emulation presets. Many other presets are created with the idea of a film "look" in mind. They take aspects of what one would think of as filmic, and include them in the preset. While this still may look nice, it is not necessarily accurate to what that specific film stock would actually render. Every Film is Fun preset is created by exactly matching a digital image to a film image taken of the same scene with the same lens.
Many other pro level film emulation presets affect the general exposure of the image when applied. This is fine if the starting image is properly exposed, when the emulation relies on heavy exposure adjustments to function properly, it becomes an inflexible preset to use on a wide variety of images. The only general exposure change for FiF present is a slight highlight rolloff performed with the curves. The only other changes to exposure are color specific luminosity adjustments. Focusing on the color vs general exposure allows these film emulation presets to be applicable to a wider range of images.
How are the presets created?
To create the presets, a picture is taken with a film camera, then the same picture is taken on a digital camera. Both cameras are set to the same shutter speed and f-stop. The same lens is used on both cameras and the iso of the digital camera is matched to the speed of the film. Multiple pictures of different scenes and lighting conditions are taken on both cameras.
When the film has been developed, it is then scanned on a Noritsu HS-1800. (The one exception is for the color positive film, which is scanned on an Hasselblad Imacon drum scanner.) The Noritsu is one of the most popular scanners used in film labs today. While there are many different ways to scan film, the most common way was chosen to keep the look of the FiF film emulations consistent.
After the scanning is complete, the digital images and film scans are brought into lightroom. For the film images, the only tweaks that are made are to general exposure. The need for exposure compensation is caused by small variables like lens adapters, shutter speed calibration, and changing light position. Once the general exposure has been matched. The work on the digital photo begins.
Careful and meticulous adjusting of the RGB curves, HSL sliders, point color controls, color grading wheels, and grain levels are performed on the digital image to match it as close as possible to its film counterpart. This process is performed on all of the other digits/film sets as well. The tweaks between each set are slightly different, which it why there are 7 different preset styles for each individual film stock emulation.
After completing the adjustments, the presets are tested on a variety of different images taken on different cameras to insure that these presets look natural in all different scenarios.
If you follow these steps above, you can create your own presets too, but what you're paying for if you choose to get the FiF presets is amount of time and knowledge it took to develop presets that accurately emulate the look of specific film stocks.
Are the Capture one styles just copies of the lightroom presets?
No, they are created independently created from the Lightroom presets. There are a few preset to style converters out there, but they usually don't do a perfect job. Capture One and Lightroom handle color and contrast adjustments differently, so it wouldn't be accurate to apply the same preset adjustments to a style.
The Capture One styles are created with the exact same method mentioned above, using the same comparison images that are used to create the Lightroom presets.
The Capture One Styles will still emulate film, but they are not quite as accurate as the presets. C1 white balance and color controls are not built as well for matching, so it's tricky to build a style to exactly match another image. Also it's not integrated with photoshop so the process of adding film blur and halation takes longer.
Will these presets work with all camera?
Yes, but images that were shot with a professional camera are what these presets were designed for. They will still work great for images shot on something like an iPhone or a small point and shoot camera, but it might need some slight tweaking to the saturation and contrast.
In order for film to be viewed these days, it is almost always scanned to create a digital file. Which is basically taking a digital picture of the film negative. Just like with different digital camera brands –Sony, Canon, Leica – different scanners will produce different results. The same negative going through a Noritsu, Fujifilm, Kodak, or flatbed scanner will look slightly different, but the end result is that it will still look like film.
This is how the FiF emulations should be viewed when thinking of using them on different cameras. Yes, if you took the exact same picture on a Sony camera vs a Canon camera and then applied the same FiF preset, they would look slightly different, but they would still both have the same characteristics of the specific stock that the preset is emulating.
Shooting on digital with the intention of using film emulation presets is almost like the reverse of shooting on film; you pick the scanner (your camera) first, then choose which film stock (preset) to "shoot" with after.
Why are there multiple presets for the same film emulation?
The process of photographic film involves an algorithm within the scanner that analyzes the light and exposure of each frame. This algorithm then determines the appropriate contrast, exposure, and colors to display the image digitally.
Each frame is individually analyzed, resulting in slight variations in the characteristics produced by the scanning algorithm, even when scanning the same film stock. Also, different scanners are equipped with different scanning algorithms, so even scanning the same frame across different scanners will give you different results.
In digital photography, your camera will process each image it takes in the exact same way. Due to the film scanning process, there isn't a single preset that can fully capture all the characteristics of a particular film. The inclusion of multiple presets in one emulation is intended to emulate the different characteristics that a film scanner would bring to a film photograph.
If you're interested in learning more about film scanning, you can check out the article written by photographer Sebastian Schlüter titled "Understanding Color Negative Film for Scanning"
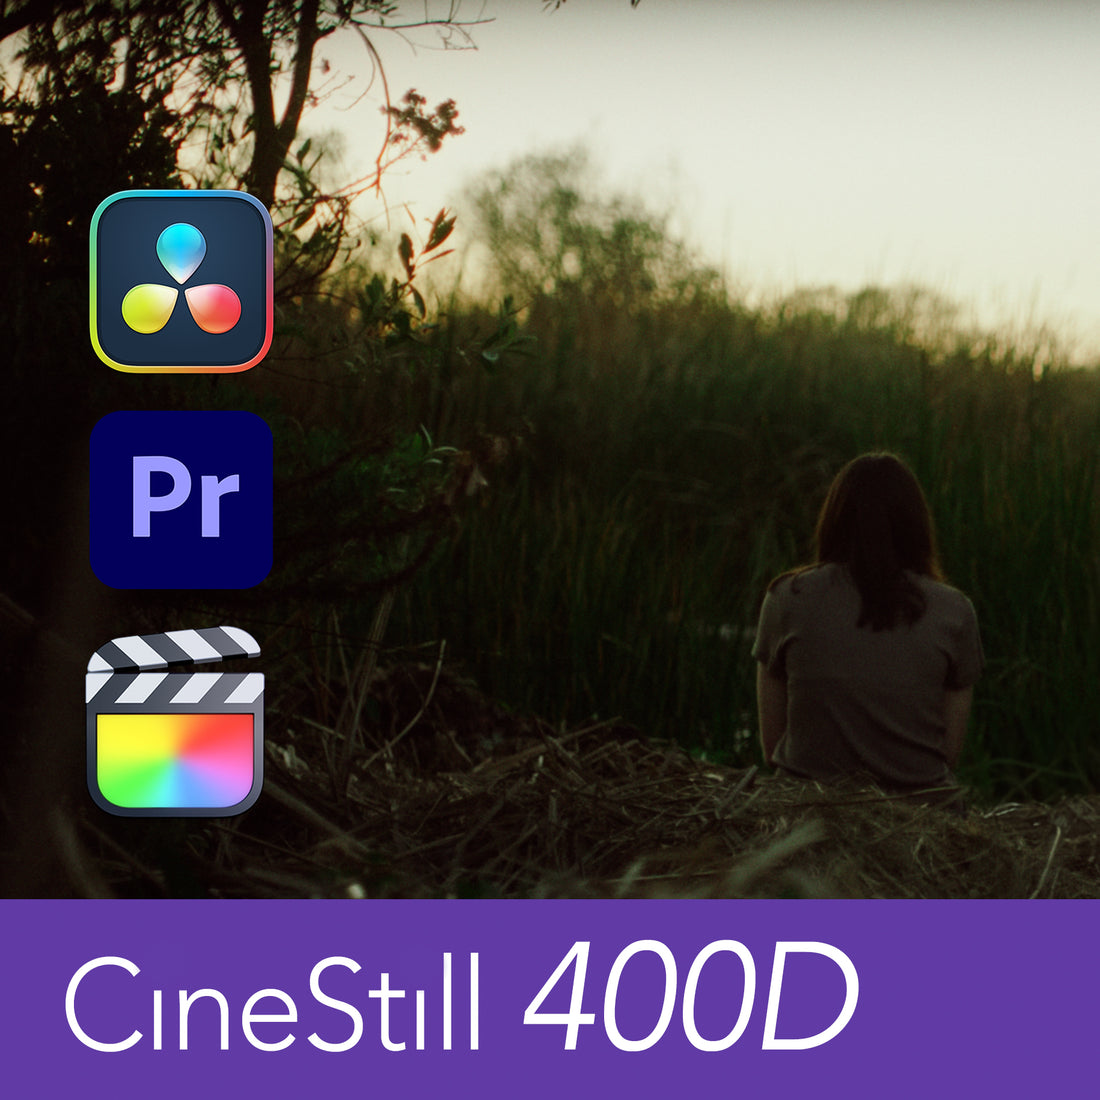
How are the film emulation luts created?
The FiF LUTs are created using the IWLTBAP LUT generator application. This initial conversion creates a LUT that works on footage in the rec709 color space, as well as for still photography cameras, like the LUMIX S5.
All professional video is captured in a LOG colorspace, so to create a LOG to rec709 FiF conversion LUT, a standard LOG to rec709 conversion must be incorporated into the base FiF LUT. This is created in Davinci Resolve. The node tree to create this consists of two nodes. On the first node is the Arri supplied Arri LogC3 to rec709 conversion, and on the second node is the base FiF LUT. The Arri LogC3 was chosen because that is the most common Log curve used amongst professional filmmaking. If your original footage was not shot in Arri LogC3, then you can apply a color space transform in resolve to convert it into that space before applying the FiF LUT.
This node tree is then used to generate a 33 point 3D LUT. The new FiF LOG to rec709 LUT is then checked across multiple clips originally shot in LOG to make sure the effects are consistent.
The presets were created with no adjustments to exposure other than a slight highlight rolloff, so the LUTs will not clip the highlights or crush the shadows when applied to a properly exposed clip.

-
Film Emulation Guide
If you want to read about how the presets work inside Lightroom, but aren't ready to make a purchase yeah, check out this user guide.Free